
 |
| Steve, I think you make enough to buy a new pair of jeans. |
Today, we'll be talking about the Rudge. But first...
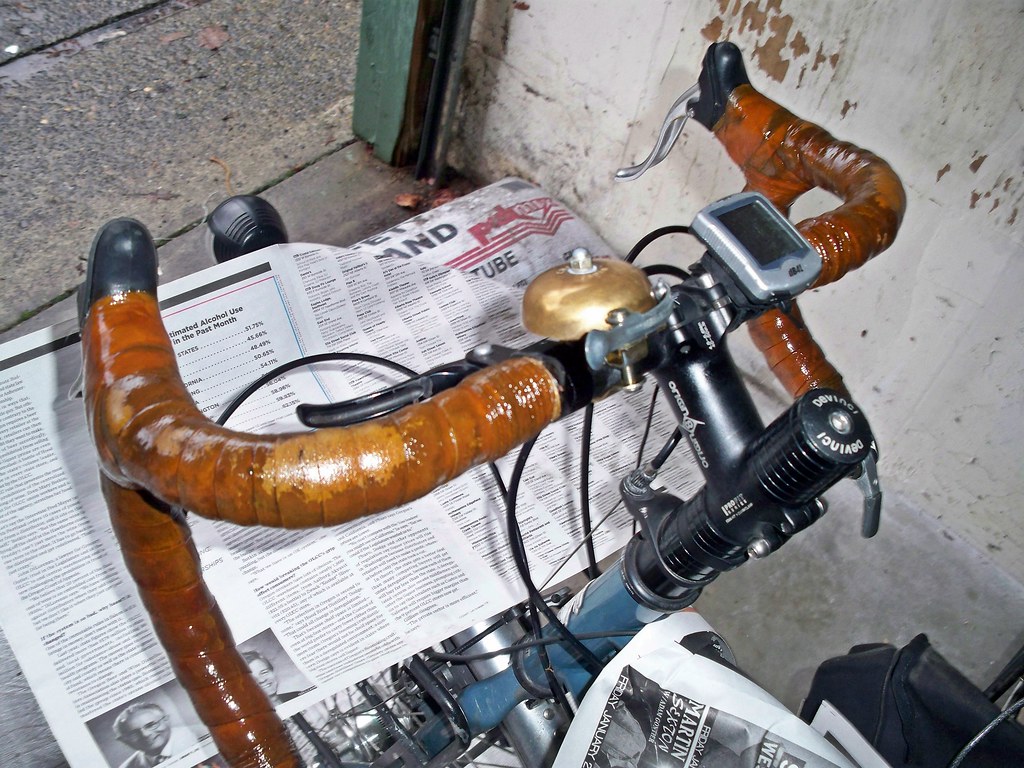
Yep, more shellac on the LHT. I put another two coats of amber shellac. The only thing that concerns me is the worn area on top of the bars still feels "rough". I don't know if it's because it's worn enough that it's not "taking" the shellac anymore, or if I should have sandpapered it, something I normally don't do. We'll see.
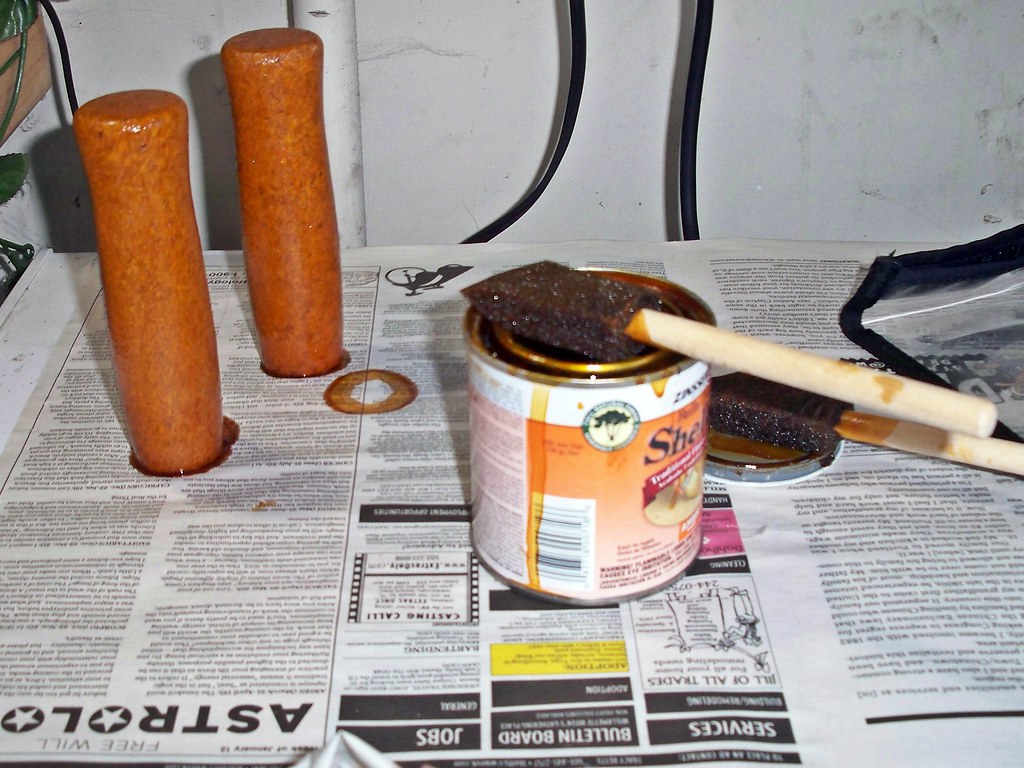
I also shellacked a set of cork grips for my roommates bike, who was entranced by the grips on my Raleigh.
Now to the Rudge!
I held off on properly doing anything with grips or tape on this bike, because I wanted to make sure everything was "just right" before going ahead. While it was tempting to find some period-appropriate grips or spring for some nice leather ones like these from Walnut Studio, I am hella broke. I had some white cork Silva branded tape that I bought for $4 from Next Adventure, and decided the Rudge would be the appropriate recipient. And that's why I hesitated: grips can be removed, even if I shellacked them. Tape that's been shellacked? Forget it. And if I needed to get a different stem, I'd have to remove everything from the bars. I didn't want that headache, so I made damn sure the bars/stem combo works before proceeding.
And how should I wrap the bars? Obviously I would need to wrap the ends where the grips were, but there was more bar beyond the brake levers/S-A trigger shifter. At first I thought about wrapping pretty much the whole bar, since I can put my hands there, essentially giving me two hand positions. But I became fond of the clean and chromy look, and I found that I haven't been putting my hands there much. So just the grip area for now. I can always go back and tape it.*
I had the notion of putting actual corks from wine bottles in the bar ends, but the corks are too fat. I started to shave one down, but gave up. I'm obsessive, but not that obsessive.
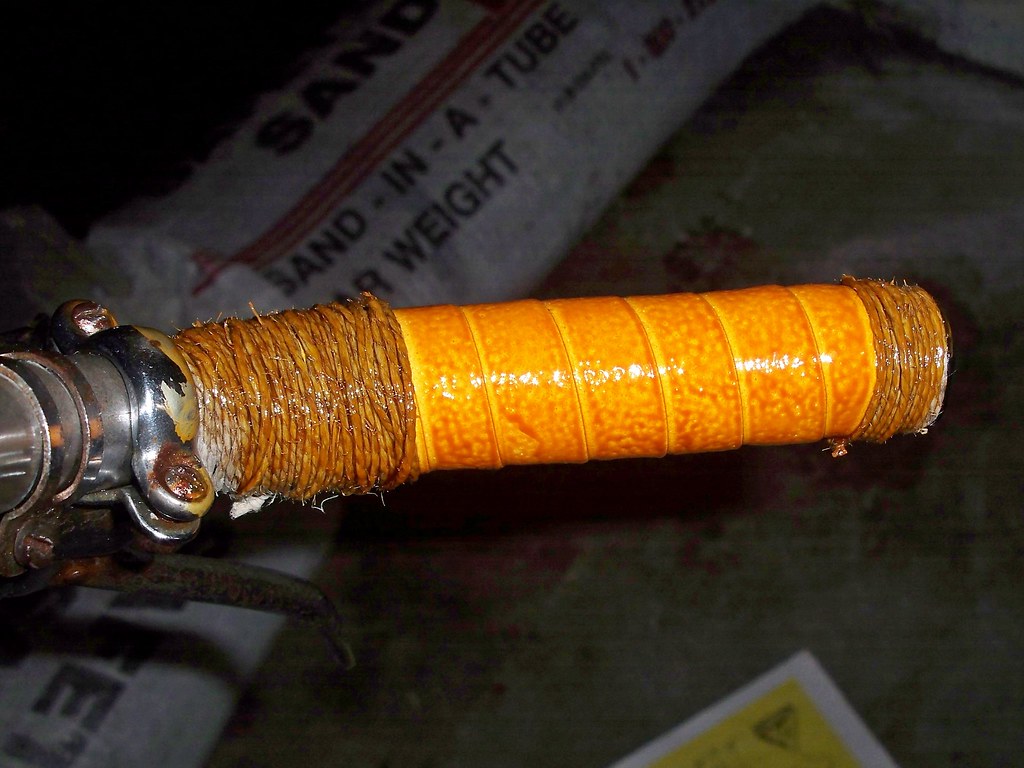
After the taping, the twine. When I first twined bars in May on the LHT, I followed the instructions from Rivendell. Within a month it was unraveling. So Keith the Raving Bike Fiend showed me his methods: short sections of twine, wrapped around and around, tied into knots. It was a lot easier! Though I never feel like I do the best job of twining. Thankfully the shellac will make it all look better.
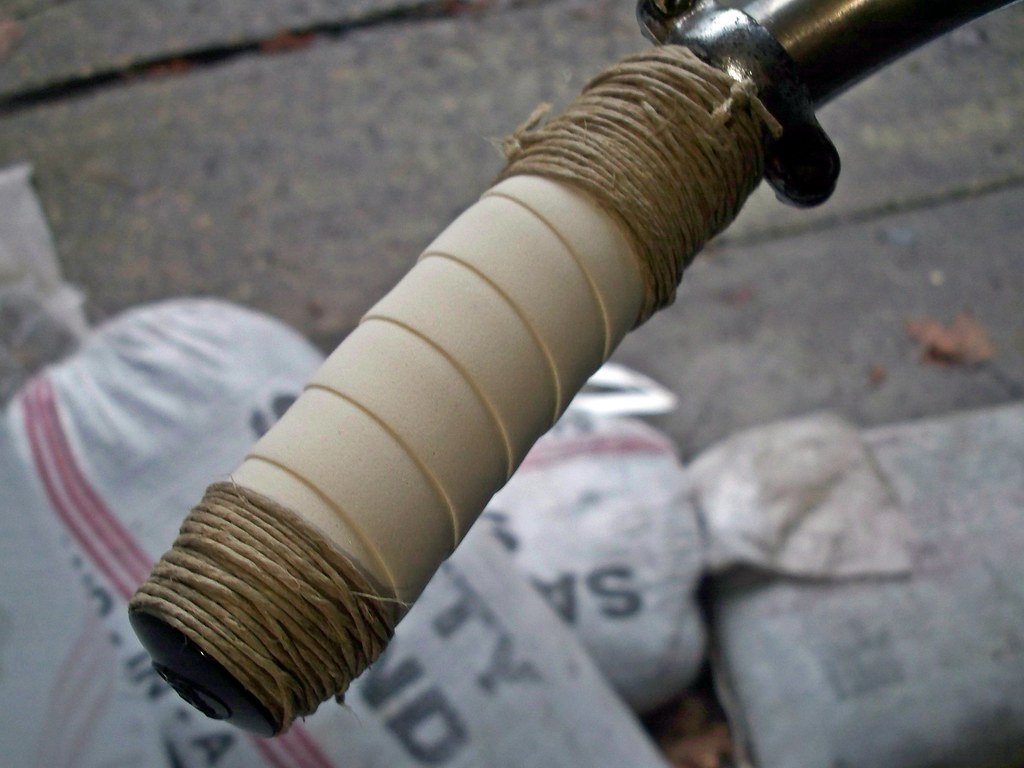
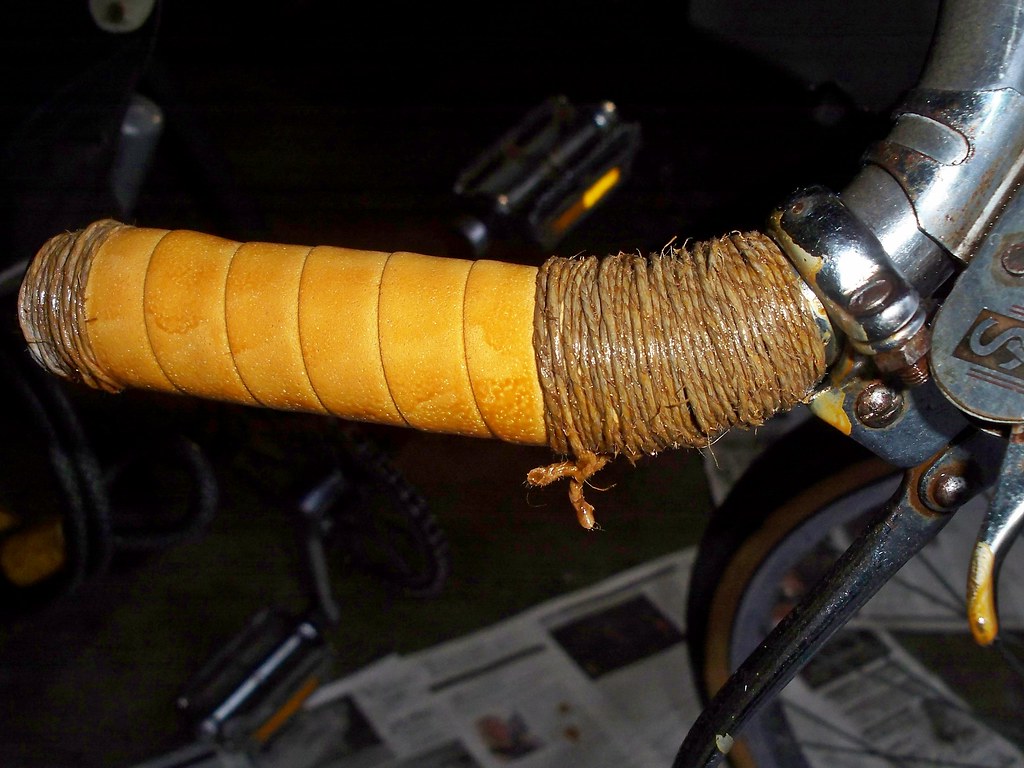
Then shellac! I used amber shellac and a sponge brush. This is after one coat.

Wow, looks so much different after one coat! Now coat two.

And three.
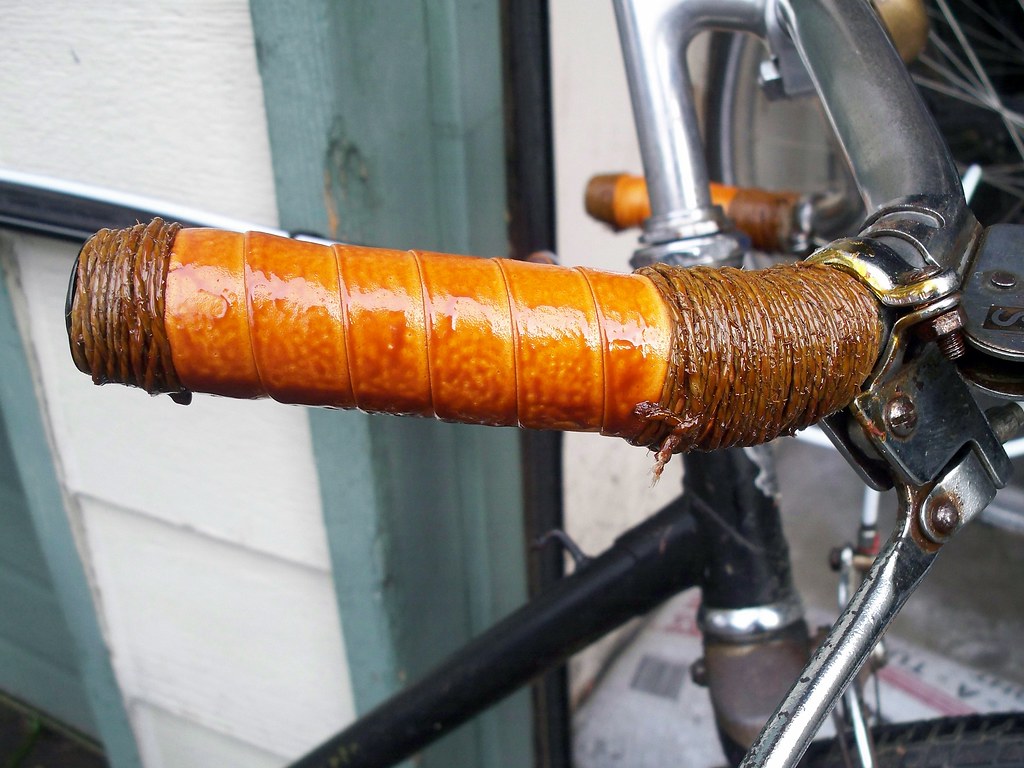
And four.
And finally, the fifth coat.
And how it all looks together!
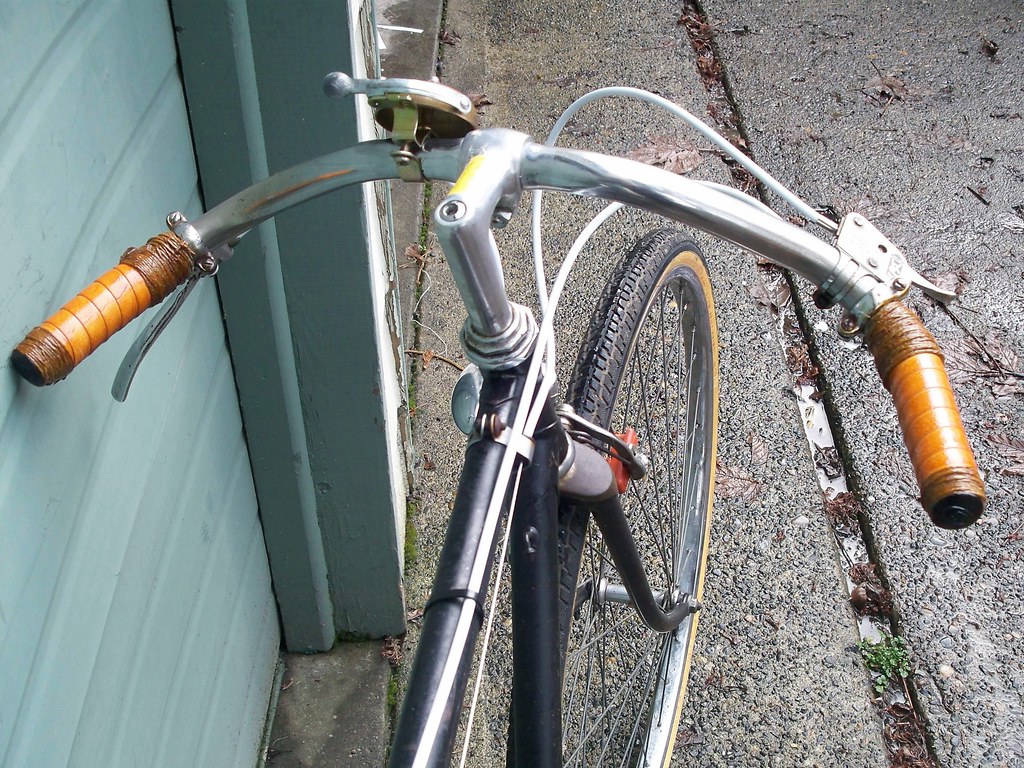
I like how the amber color really goes along with the color scheme of the Rudge. And I did it cheaply: the tape cost only four bucks and I only used half of what I got. The twine was like three bucks for a ball, and it didn't make much of a dent in the ball. And the can of shellac was about eight bucks, and there's still plenty left!
*These are the internal debates I have.
Yes, I do like those grips...have to do that on one of my bikes.
ReplyDeleteI do a lot of my bikes like that.
ReplyDeleteTo size the cork to fit in the bar: Take a pair of pliers and compress the cork, rotate, compress, rotate, compress, etc...until you have gone all the way around a couple of times, as far up the cork as you wish to insert it.
Put a timy amount of grease on the inside of the bar, and gently tap the cork in with a wooden mallet (or something similar).
That's how I do it, if I don't have bar wrap going inside the bar...
anniebikes--Do it!
ReplyDeleteJon--Thanks for the tip! Because I put the plastic stoppers into the bar ends, I should be able to give the corks a go. I'll just need more twine. And shellac of course!