
I was pretty sure that I wanted to use the Civia Dupont bars that I got for the M40 on the Crested Butte, but was still wondering if I should stick with the "Bullmoose" bars already on the bike. The 7 mile ride to Ed's convinced me I wanted the Duponts, as the original bars were way too low, forward, and aggressive to me.
So now the major issue was finding an appropriate stem. We brought it over to North Portland Bikeworks and Alex confirmed my suspicion that the stem was an odd size. Rather than the more standard 22.2mm, it's a 21.1, more common to old American heavyweights/balloon-tire/"cruisers" and BMX. (The first wrinkle of the project.) Some old MTBs have this stem due to the evolutionary process of early-mid-eighties mountain bikes being not far from cruisers and BMX. Of course, the only modern stems in 21.1 are cheap and unexciting, and Bikeworks had no good used ones in stock, so we rode over to the Community Cycling Center to find an appropriate specimen in its used bins.
And I did find one at the CCC, but I didn't actually get it from the CCC. I ended up buying one from a guy looking for a 22.2 stem for his own MTB project and had an appropriate 21.1, which even had the needed built-in cable hanger! And it's a nice one too, made by Kalloy. Score. So back to Ed's house where we swapped bars and stem, and redid the cables and housing mostly because of the added lengths needed for new bars. And new cables/housing is always a good idea for an old bike!

The next step was adding fenders. Planet Bike Cascadia fenders in silver will do the trick. We got it mostly done, as we were missing a couple appropriate bolts, and I would need to trim the fender line when I put different tires on. And tacked to the rear is a Portland Design Works "Fenderbot" rear lamp. While this light is on the weak size compared to some modern LED rear lights (only .5 watts), it's always there on the rear fender, so no need to worry about removing it. And it doubles as a reflector!

Now the major hassle: putting a front rack on. But before that, my quest for the right front rack setup. I could throw my Jandd Expedition rear rack on this bike as there were the appropriate eyelets and clearances, but I wanted this to be a "front loader" bike. And my older Carradice Longflap would go on the saddle, so that would suffice for "junk in the trunk". But what kind of font rack? I would love a "porteur" style rack, but they start at $100 and go up from there. Not in the budget for this one. I thought I found my salvation when I saw that venerable American basket maker WALD now has their version of a porteur rack, the Ewald 257. At only $50 it was in my budget range!
 |
| From the Soma blog. |
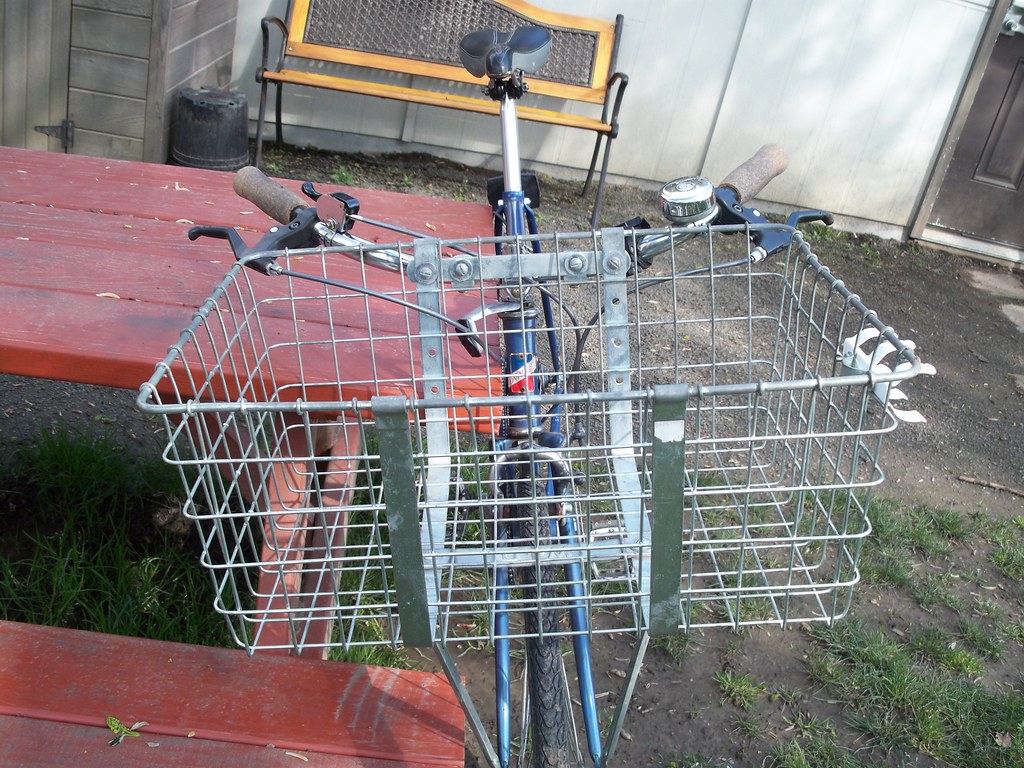
Clever Cycles had one for sale, so I checked it out. Or more accurately, picked it up and felt the weight. Quite the heft. I contacted WALD and they said it weighed eight pounds, which is just one pound less than the Giant Delivery Basket model 157, aka "Newspaper Bakset". I owned a Wald 157 on my old Univega. While it was great for carrying lots of stuff, it was a bit...unwieldy. And just carrying that much rack...yeesh. So no go.
 |
| Aah, old Univega, you treated me well. |
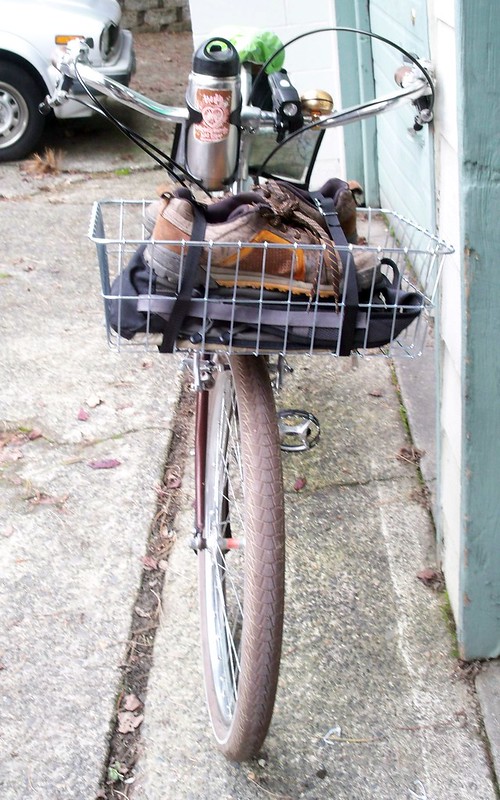
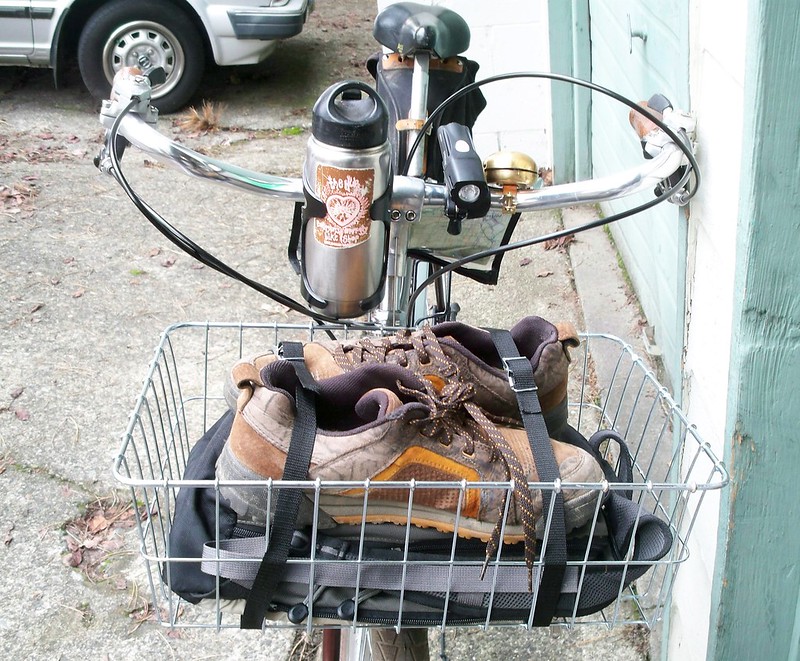
So what to do? There's another WALD basket kicking down in the basement, the model 139 that used to be on April's Raleigh Sports. I did think about using it on the M40 until I realized that pretty much nothing can mount to the front due to the oversized fork and weird canti brakes. But that basket was getting a bit janky, and I wanted something more versatile. It just so happens that I had a Sunlite Front Rack given to me by Tomas, a small platform rack that mounts to cantilever brakes. With this platform I could lash a new model 139 basket (sans hardware) to the rack, something Rivendell recommends.* With this setup, I wouldn't have to worry about anything clamping to the bars or feeding cables through the basket. The basket would be lower, which is better. And I could easily remove the basket if I wanted to.
Now the hard part: the fork crown on the Crested Butte lacked a bolt hole for brakes, as it has cantilever brakes, and 1984 was an era where if you had cantis, why would you need a hole in the fork crown? Now, in this modern era, there are reasons, like lights. Or a front rack like the one I have. Initially Ed had fears about drilling into the fork crown, but Timtim at the CCC allayed his fears. Ed had a drill, alright, but it was a hand-crank, so it took a loooong time. But it got done, and everything mounted fine.
*****
After all this, there were a few minor odds-and-ends I did at home. The 28 year old tires, as cool as they be, had to go. In their place went the Rubena Cityhopper tires I had initially on the M40, along with some new tubes for good measure.
I put on some shellacked cork grips for now. For a bell: a nice new brass Crane "rotary" bell, just like the one on the Raleigh Wayfarer. The front headlamp is the Cygolite Metro 300 LED. Two Klean Kanteen water bottle cages, one mounted to handlebars via Velo Orange clamp.

I think I'll swap out the saddle, but am waiting to see how the Avocet works. And the Carradice will be added after it comes back from the shop.
So the bike is "mostly done". But how does she ride? That will be revealed in the next post.
*I could remove the hardware from the old basket I have, but I would like to leave it on in case there happens to be another project bike that rolls my way.
Looking more and more like a good "useful bike" (term coined by Bicycle Times in the first couple issues ;) ),my friend-which means it's looking better and better. That basket turned out pretty nice too,and still loving that "trunk" bag out back. Tires compliment it nicely :)
ReplyDeleteThe DC
Thanks. The current saddlebag (Minnehaha) is merely a placeholder until I get my Carradice out of the shop. It's a very ok bag, but the construction is mediocre. You get what you (don't) pay for.
DeleteYou don't have a bolt hole where you attached the fenders? I have it on my 86 Ross and 84 Miyata... It's how I incorporated the same rack that you use on the Raleigh. Rack and fenders are attached to the same bolt, which goes through a hole in the fork. Or maybe I've misunderstood what you are saying...
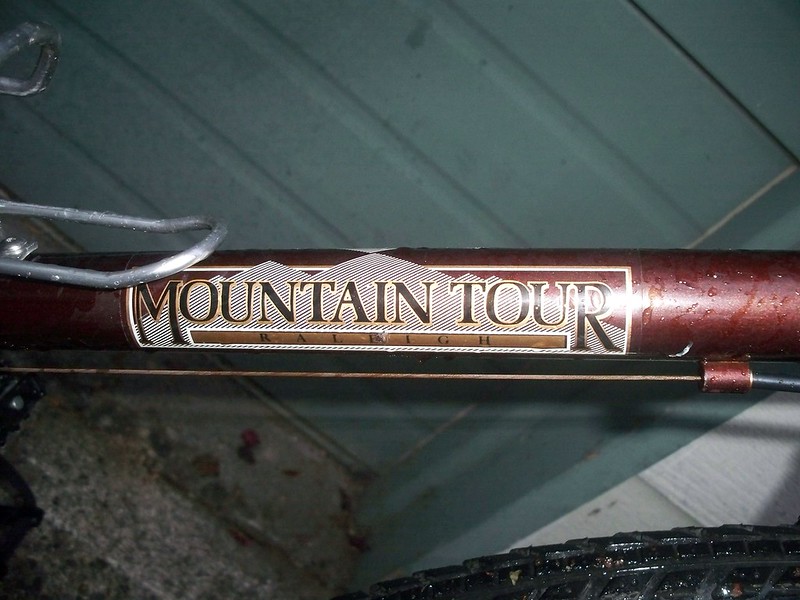
ReplyDeleteYep, you read that right! No "hole" in the fender crown. Hence the drilling. You can (sort of) see the lack of hole here:
Deletehttp://www.flickr.com/photos/urbanadventureleaguepdx/8104244970/in/set-72157631809174747
That is weird...go figure. I'm glad you found a solution.
DeleteI removed the handlebar mounts from my Giant Delivery Basket and zip-tied it to a front rack like yours. But I left the legs on it. This lowers the basket, while attaching it at the fork crown, brake posts and the dropouts. It's very sturdy and much more manageable than when it was attached to the handlebars.
ReplyDeleteI no longer have the Delivery Basket, so it wouldn't have been an option unless I bought one new. As much as I enjoyed the enormousness of it, I think it's a bit too much for my needs (unless I get another Cycle Truck.) That's why the Wald "porteur" looked like an option, until I figured out how much it weighed.
DeleteRight now, I'm digging the basket/rack setup. The lower profile means less conflict and loading ability. And when I don't need the basket, I can simply remove it.
Sweet bike! I really like the way it's shaping up!
ReplyDeleteLove the Butte! The tires look great too. I notified my Taco-man friend that Velo Cult may have then in stock.
ReplyDeleteThanks for the comics and zines and button and everything.
nicholas
how's the map being held up?
ReplyDeleteBy the powers of Retro-Grouch levitaton.
Delete:-)
Seriously, it's a Bar Map map holder, strapped to bars. Seen here:
http://www.rivbike.com/product-p/m4.htm
Coming along nicely.
ReplyDeleteI couldn't go back to an old frame. The A Head type headset is just too much of an improvement on the old method.
Dexey, Gypsy, Stuart, thanks for the compliments!
ReplyDelete